Real-Life Tinkercad Projects: Practical 3D Prints for Home Repairs and Everyday Use

A lot of people think 3D printing is mostly toys, figurines, or novelty stuff. But once you learn basic design, it becomes something else entirely. It becomes a tool you can use to fix problems around your home and make everyday life easier.
That is what makes Tinkercad so valuable.
Tinkercad is not just for kids. It is one of the fastest ways for a home user to go from “I wish I had a part for this” to “I printed it.”
This post gives you practical, real-world project ideas you can build in Tinkercad, plus a simple workflow you can reuse whenever you want to design a useful part.
The mindset that makes Tinkercad useful
The best Tinkercad projects usually fall into one of these categories:
- Replace something small that broke or went missing
- Hold something in place
- Organize something that is always messy
- Adapt something that almost fits but not quite
- Make a simple tool that saves time
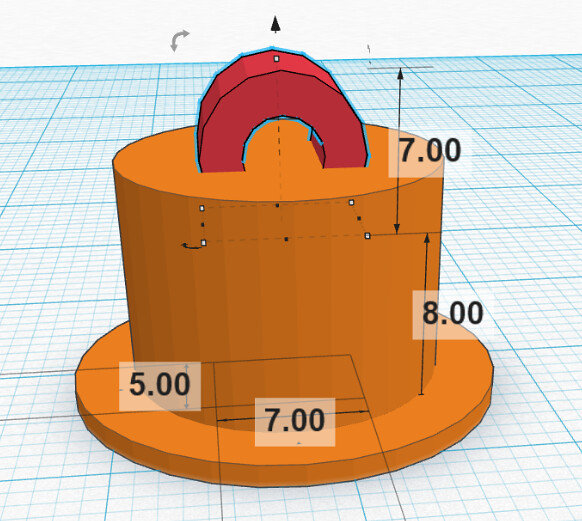
Most of these designs can be built using basic shapes, holes, and alignment tools.
The “measure, model, test” workflow
If you want consistent results, use this loop:
- Measure the real object (a caliper helps)
- Model the part in Tinkercad with exact dimensions
- Print a small test piece first
- Adjust clearance if needed
- Print the final part
That approach prevents wasted filament and saves time.
A simple rule for fit: if something needs to slide into a hole, you usually need a little extra clearance. For many home prints, starting with an extra 0.2 mm to 0.4 mm of clearance is a good baseline, then adjust based on your printer and filament.
Practical project ideas you can build in Tinkercad
Shelf pins and small spacers
Shelf pins are a classic “missing part” problem. Many are simple cylinders or a cylinder with a small lip. Tinkercad can handle this easily.
Tip: If you print shelf pins, treat them as light-duty replacements unless you understand the load and the failure risk. For anything supporting heavy loads or valuable items, real hardware is the safer choice.
Holders and containers
This is where Tinkercad shines. Custom bins for drawers, battery organizers, SD card holders, and small parts trays are easy to model and incredibly useful.
Starter idea: Make a box that fits your exact drawer width and depth. Add finger cutouts using hole shapes. Print in PLA for indoor use.
Replacement caps and covers
Lost a cap to a small appliance, a knob cover, a dust cap, or a protective plug? These are often just basic geometry. Measure the diameter, thickness, and snap area. Model a test ring first to confirm fit.
Bag clips and kitchen helpers
Bag clips, scoop holders, funnel adapters, and simple hooks are easy wins. Keep them simple, printable, and thick enough to handle repeated bending.
Bathroom organizers
Toothbrush holders, razor holders, clip-on shelf bins, shower caddy adapters, and drawer dividers are all Tinkercad-friendly designs.
If something will live in a wet environment, choose a filament that handles moisture and heat better than basic PLA, or keep the part away from direct heat and constant water exposure.
Sports accessories
These are fun and surprisingly practical:
- A golf stroke counter you can clip to a bag
- A tee holder that snaps onto a push cart
- A ball marker case
- A custom grip alignment tool (light-duty)
Tinkercad is ideal for making simple parts that fit your own gear.
Simple replacement parts for non-critical uses
Examples include:
- A washer or spacer for a loose fit
- A cable grommet
- A clip to hold a cord
- A small bracket for light loads
- A bumper pad or foot for a device
A note about screws and bolts: You can model threaded parts in Tinkercad, but for real repairs, standard hardware is usually the safer, stronger, and more reliable option. Printed screws can work for prototypes and low-stress uses. For anything structural or safety-related, use real fasteners.
Exporting from Tinkercad for printing
For most home printing workflows, exporting an STL is the typical step before slicing.
Tinkercad export information:
https://www.tinkercad.com/help/3d-editor/export-filetypes
From there you slice in Cura, PrusaSlicer, or Bambu Studio.
The real benefit for home users
The biggest advantage is not the specific project. It is the ability to solve problems on demand. Once you get comfortable, you stop searching for models first and start designing what you need.
That is when 3D printing becomes practical.