How to Fix Layer Shifts in 3D Prints: Complete Troubleshooting Guide
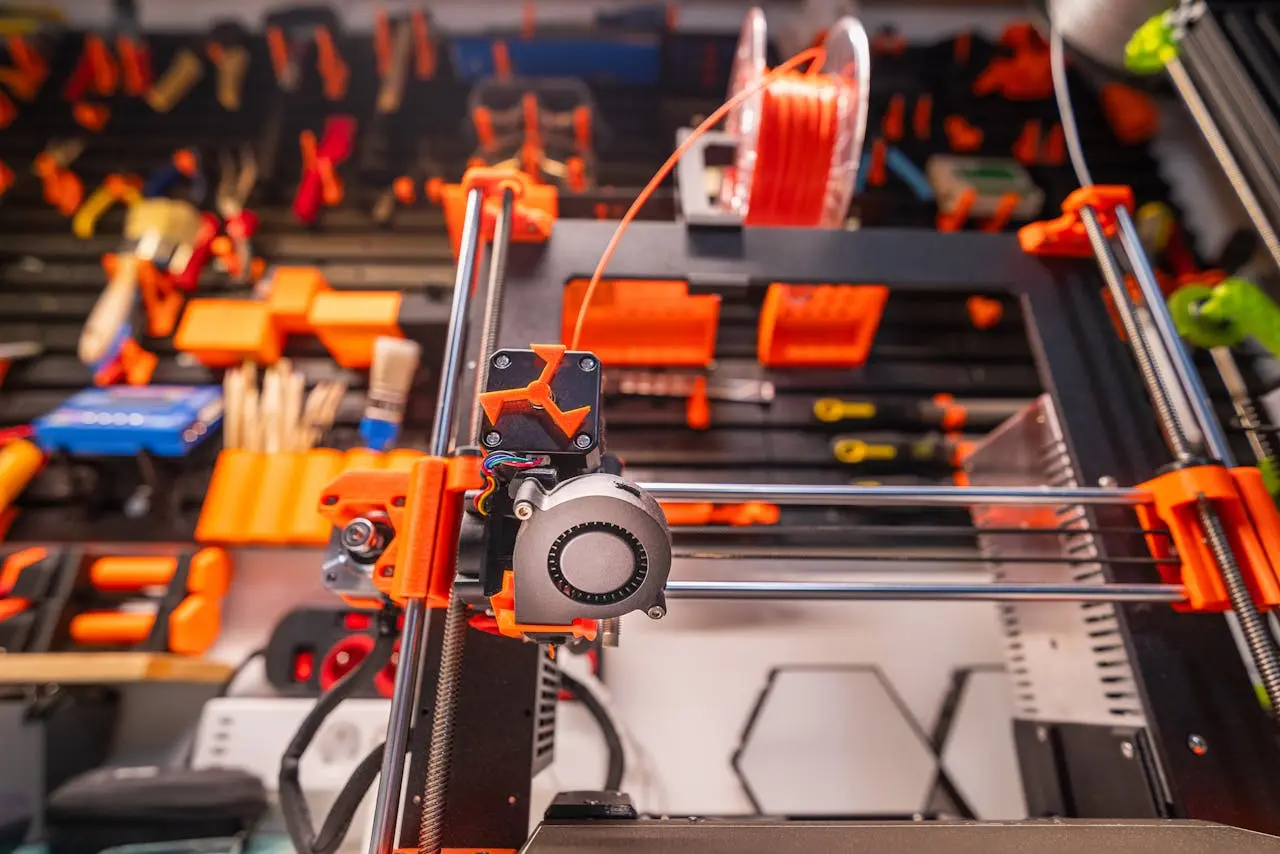
.jpg)
There’s nothing more frustrating than walking back to your printer mid-job and seeing that your beautiful print has suddenly gone off the rails — literally. What started as a perfect first few layers now looks like a skewed mess, with each layer slightly shifted from the last. If you’ve ever seen a 3D print that looks like it survived an earthquake, you’ve experienced the infamous layer shift.
Whether you’re a home hobbyist printing cosplay parts, a teacher running a 3D printer in a classroom, or a maker fabricating parts for sale, layer shifts can ruin your day. They waste time, filament, and — if you’re printing something for a client, student, or project deadline — a lot of patience.
The good news? Most layer shift issues can be fixed, and even better — they can often be prevented entirely once you understand what’s causing them.
In this guide, we’ll break down everything you need to know:
- What a layer shift looks like and how to confirm it
- The most common causes (mechanical, environmental, and software-related)
- Step-by-step instructions to fix it
- Pro tips to prevent it from happening again
- FAQs based on real-world questions from artists, schools, and makers
- When to call a professional (and how to reach us if you're in South Jersey)
This isn’t just a list of generic tips — it’s designed for real people dealing with real 3D printer headaches. Whether you’re managing a school printer fleet, working on a personal passion project, or running into issues with a machine you don’t fully understand, this guide is built to help you get back to printing smoothly.
Let’s dive in.
What Is a Layer Shift?
A layer shift happens when your printer’s moving parts — usually the X or Y axis — slip out of alignment during the print. Instead of stacking each new layer directly on top of the last, the printer unknowingly shifts one or more layers slightly to the side. The result? A stair-stepped, jagged, or totally misaligned print.
Sometimes the shift is subtle — you might notice a slight lean or curve that wasn’t in the original model. Other times, it’s catastrophic: sharp corners suddenly warp, text becomes unreadable, or entire sections jut out in unnatural ways. If you’re printing functional parts or models with interlocking features, a single layer shift can ruin the whole job.
Here’s how to recognize a layer shift:
- Visibly misaligned layers — often after a certain height or sudden motion
- Unchanged Z height — the nozzle still goes up layer by layer, but side-to-side motion is off
- Jagged or duplicated edges — especially noticeable on straight walls
- Pattern repeats every few layers — often from a recurring belt or motor issue
- Inaccurate dimensions — parts no longer fit or line up properly
Layer shifts are not the same as:
- Z-wobble: a vertical ripple pattern from uneven Z-axis movement
- Warping: corners lifting off the bed due to poor adhesion
- Under-extrusion: weak, thin, or missing layers due to filament flow problems
Many users confuse these issues at first — but once you learn to recognize the signs, layer shifts become easier to diagnose.
What Causes Layer Shifts?
Layer shifts are usually caused by mechanical movement failures, but they can also be triggered by firmware, slicer settings, or even environmental factors. Understanding the root cause is key to fixing the problem — otherwise, you’ll just keep wasting filament and time.
1. Loose Belts or Pulleys
If your X or Y belts are too loose, the motors can’t accurately move the print head. Likewise, if the pulleys aren’t securely tightened to the stepper motor shafts, the belt may slip even if it looks fine from the outside.
- Check for side-to-side play in the print head
- Inspect pulleys for tiny grub screws — they must be snug and properly aligned
- If the belt flaps like a rubber band, it’s too loose
2. Overheating Stepper Motors or Drivers
If your stepper motors get too hot, they may skip steps or lose torque. This is especially common during long prints or in enclosed chambers without airflow.
- Touch the stepper motors gently — they should be warm, not burning hot
- Cooling fans near driver boards should be spinning freely
- Thermal shutdowns are sometimes silent — no error, just a missed move
3. Dirty or Obstructed Rails
Dust, grease buildup, or even a stray zip tie can create resistance along your smooth rods or linear rails. If the nozzle “catches” or hesitates mid-move, it may throw off the alignment of the entire layer.
- Wipe rails clean and re-lubricate with PTFE-safe oil or grease
- Check for tangled wires, debris, or filament clumps near moving parts
- Slide the gantry manually with the printer off — it should glide smoothly
4. Slicer or Firmware Errors
Sometimes the issue lies in the G-code, not the machine. Incorrect acceleration settings, corrupted files, or extreme travel speeds can cause sudden skips or overloading of the motors.
- Re-slice with conservative speeds and default jerk/accel settings
- Watch out for experimental firmware or misconfigured profiles
- Try printing a simple model from a known-good file for comparison
5. Bed Adhesion Failure
If the print peels off the bed mid-job — even partially — it can drag the nozzle off-course and cause a layer shift. This is one of the most under-diagnosed causes.
- Always check if the part lifted near the corners
- Use a brim or raft if adhesion is questionable
- Consider upgrading your bed surface (PEI, textured plates, etc.)
6. External Interference
Especially in school labs or shared spaces, printers get bumped. A nudge to the table or printer during a job — even a small one — can offset everything.
- Make sure your printer is on a sturdy, vibration-free surface
- Use signage or designate a “do not touch” zone during prints
- In classrooms, avoid placing printers on mobile carts with wheels
Step-by-Step Troubleshooting
Step 1: Power Off and Inspect the Belts
- Gently move the print head side to side and back and forth.
- Check for slack or loose tension.
- Inspect pulleys and grub screws for tightness.
Step 2: Check the Rails and Gantry
- Wipe and lubricate motion rails.
- Remove debris or wires that could snag.
- Slide the head manually to ensure smooth motion.
Step 3: Evaluate the Motors and Drivers
- Look for skipping, grinding, or overheating.
- Make sure stepper motors aren’t getting too hot mid-print.
Step 4: Re-slice with Conservative Settings
- Reduce print speeds and acceleration.
- Test with a calibration cube.
- Use known-good profiles when possible.
Step 5: Test Bed Adhesion Mid-Print
- Watch for lifting or peeling after the first 10–20 minutes.
- Add a brim or raft for insurance.
- Use proper bed temps and leveling.
Step 6: Eliminate Outside Disturbances
- Place the printer on a stable surface.
- Avoid bump-prone locations.
- For schools, post signage to prevent accidental interruptions.
How to Prevent Future Shifts
- Maintain belts and pulleys
- Clean and lubricate motion components
- Avoid aggressive speed settings
- Improve first layer and bed adhesion
- Keep your printer in a stable environment
- Implement a maintenance checklist for school or shared use
Advanced Tips & When to Call for Help
- Upgrade to quieter, more reliable stepper drivers
- Tune acceleration and jerk settings in firmware or slicer
- Inspect for worn belts or damaged bearings
- For school fleets: standardize slicer settings and track maintenance
- If issues persist, consider professional service
If you're in South Jersey, 3D Printing by Bokey offers local repairs, upgrades, and printer management for classrooms, artists, and makerspaces.
FAQ
Why do my prints shift halfway through but not at the beginning?
This usually points to overheating motors or belt tension that becomes unstable during longer prints.
Can slicer settings cause a layer shift?
Yes. Aggressive speeds, travel moves, or corrupted G-code can overwhelm the printer’s motion system.
What’s the difference between layer shift and Z-wobble?
Layer shift affects layer alignment side-to-side. Z-wobble creates vertical ripple patterns.
Can OctoPrint or remote monitoring tools cause this?
Rarely — but faulty USB connections or underpowered Pi boards can interrupt motion commands.
Is my printer just too cheap to handle big prints?
Not always. Even budget printers can produce clean results with the right setup and maintenance.
Do I need to upgrade my board or firmware to fix this?
Not necessarily. Most issues can be fixed mechanically, but upgrades may help long-term reliability.
Conclusion
Layer shifts are one of the most frustrating problems in 3D printing — not because they’re rare, but because they can happen on an otherwise perfect print. The good news is that most shifts aren’t caused by anything catastrophic. They’re often the result of loose belts, dirty rails, or slicer settings that push the printer too hard.
In this guide, we covered:
- How to identify a true layer shift
- The most common mechanical and environmental causes
- A full troubleshooting sequence
- Long-term prevention strategies
- Tips for schools and makers
- When to call for help
Whether you’re running a school print lab, creating parts for an exhibit, or just printing something cool for your desk — layer shifts don’t have to derail your work.
If you're in South Jersey and still struggling with print alignment or any kind of 3D printer issue, I can help. I offer local repair, maintenance, upgrades, and printer fleet support for schools, artists, and everyday users.
Need help fast - contact us today.
Visit the 3D Printing by Bokey Services Page:
https://www.3dprintingbybokey.com/services
Serving Ocean, Burlington, Camden, Gloucester, Atlantic, and Monmouth County.