Infill Patterns & Density Explained: Boost Strength, Speed, and Print Quality

When it comes to dialing in 3D prints, infill settings often get overlooked. Most people just leave it at 20% Grid and move on. And truthfully? That’s exactly what I do — a lot. For most functional prints, especially in school settings or casual use, 20% Grid gets the job done.
But if you're seeing brittle parts, long print times, or wasted filament, it might be time to rethink your infill game. In this guide, we'll break down how infill patterns and density actually affect the quality, strength, speed, and material use of your prints — and when to tweak each.
What Is Infill in 3D Printing?
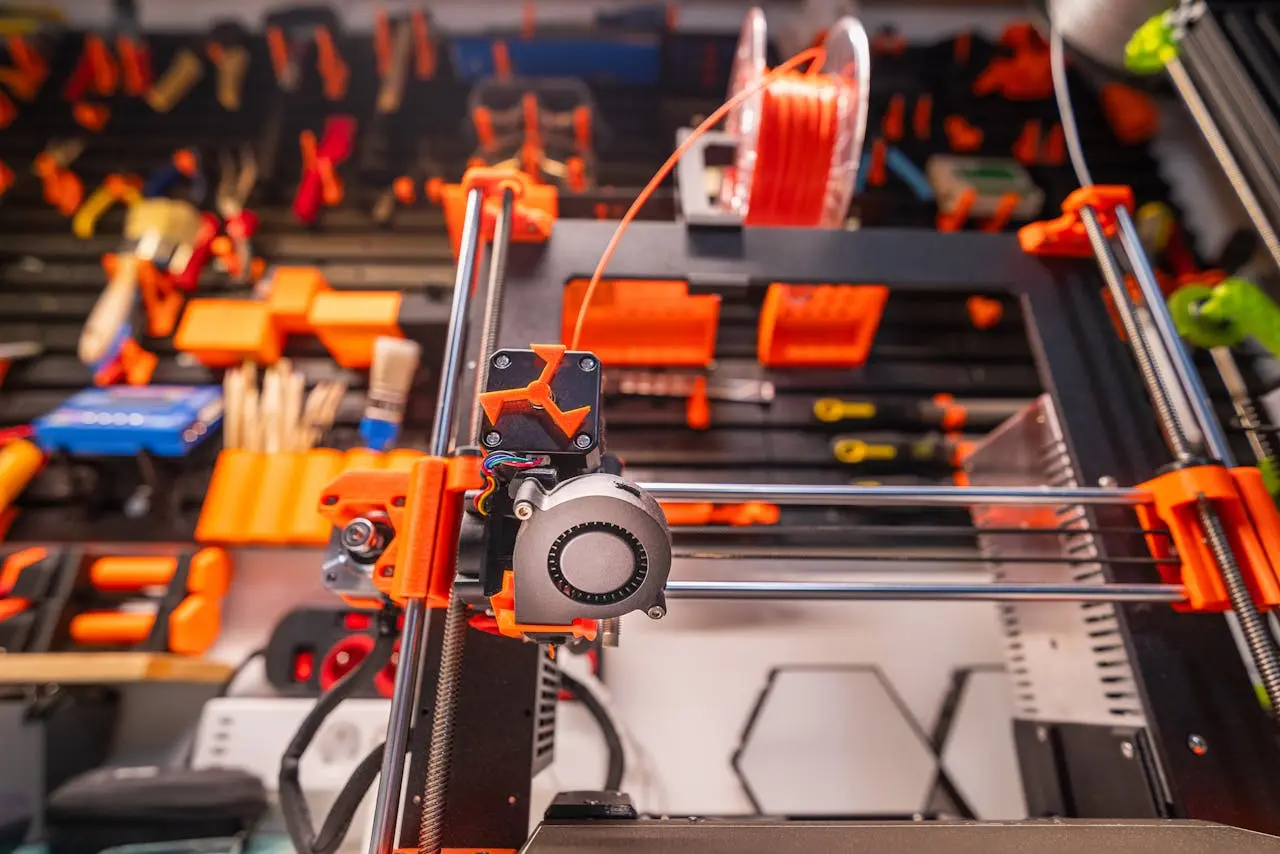
Infill is the internal structure that fills the empty space inside your 3D print. While your part’s exterior walls (perimeters) form the visible shell, infill is all about what’s hidden inside.
You can change two main infill settings in your slicer:
- Pattern: The shape used to fill the inside — e.g., Grid, Gyroid, Lines, Cubic, etc.
- Density: How much of that pattern fills the interior space, usually expressed as a percentage (e.g., 20%, 50%, 100%).
Choosing the right combination can dramatically affect print strength, flexibility, speed, and material usage.
Comparing Infill Patterns (With Use Cases)
Different patterns are built for different strengths. Here's a quick rundown:
- Grid: Simple and fast. Great for quick prints that don’t need to handle much load.
- Lines: One of the fastest patterns to print, but weaker. Good for draft prints.
- Gyroid: Strong and flexible, with continuous curves. Great for structural parts, bending loads, or shock absorption.
- Cubic: Strong in all directions, ideal for parts needing uniform internal support.
- Tri-Hexagon: Rigid but slower. Good for parts needing crush resistance.
- Concentric: Follows the shape of your print. Great for vases or curved objects.
I use Grid the most, but for critical parts, I’ll switch to Gyroid or Cubic to get extra strength without bumping up the density too much.
Understanding Density: 10%, 20%, 50%, 100%?
How solid your print is depends mostly on infill density:
- 10–15%: Fastest, minimal strength. Great for visual models.
- 20–30%: The sweet spot for most functional prints — this is where I live 80% of the time.
- 40–60%: Stronger parts, but watch out for warping and long print times.
- 100%: Fully solid. Rarely needed unless the part must be extremely strong — and even then, wall count and geometry usually matter more.
More density = more material = longer print time. Don’t go higher than you need.
Does Infill Affect Strength or Wall Count More?
Surprisingly, wall count and top/bottom layers often play a bigger role in part strength than infill does. In many cases:
- 3 walls and 4 top layers with 20–30% infill will be stronger than 2 walls and 2 tops with 100% infill.
- For parts expected to carry load, reinforce external shells first, then bump up infill.
Think of infill as support for the shell — not a replacement for poor shell settings.
Infill Tips for Schools, Hobbyists, and Artists
If you’re a K-12 school managing multiple printers, or you're a maker doing frequent prints, infill can be your best lever to control time and material use.
For schools: Stick to 15–25% Grid or Lines. It’s fast, consistent, and easy to troubleshoot across different slicers and student projects.
For hobbyists and artists: Use Gyroid at 20–30% for visual strength and uniform support — great for curved prints, statue bases, and articulated figures.
For functional prototypes: Combine Cubic or Tri-Hex at 40–50% with solid walls. Good for brackets, mechanical parts, or mounts.
Bonus: Slicer Settings to Pair with Infill
Want to get even more out of your infill?
- Increase wall count: 3–4 walls can boost strength more than density.
- Use adaptive infill: In Cura or Bambu Studio, adaptive infill reduces density where it’s not needed, saving time/filament.
- Try modifiers: Apply stronger infill to specific regions (e.g., bolt holes or load-bearing zones) without affecting the whole part.
These tweaks are great for school fleets and professional workflows where every minute or gram of filament counts.
Conclusion — Don’t Overthink Infill (But Don’t Ignore It Either)
If you’ve ever wondered why your prints fail, feel too flimsy, or take forever to finish, infill settings might be the hidden culprit.
Most of the time, especially for functional prints or classroom projects, 20% Grid is perfectly fine. That’s the setting I personally use most often — it’s fast, efficient, and gets the job done without overloading the printer or burning through filament.
But when you're printing something that needs to handle stress, resist crushing, or just look perfect from the inside out, it’s worth experimenting with:
- Stronger patterns like Gyroid or Cubic
- Higher densities in load-bearing zones
- Custom modifiers for localized reinforcement
Whether you're a hobbyist, a teacher managing a printer fleet, or an artist prototyping sculpture bases, infill is one of the most underappreciated settings in your slicer — but one that can make a huge difference in print success.
.jpg)